
Recently at work, we set up a private EKS cluster using Cloudflare Zero Trust. This turned out to be a fantastic way to secure our clusters. I thought it would be useful to share my experience and some of the gotchas we encountered.

What We’ll Do
- Create a Cloudflare account and a Zero Trust Team
- Create a private EKS cluster (in its own VPC, configured as private)
- Set up a public EC2 bastion with the Cloudflare Tunnel client
- Configure the EKS control plane security group
- Configure Cloudflare Zero Trust tunnel and policies
- Install the WARP client and enroll the device
- Test connectivity to the private cluster
Create a Cloudflare Account and Zero Trust Team
- Create a Cloudflare account: Go to https://dash.cloudflare.com/ and sign up for a free account.
- Set up a Zero Trust account: Once inside the dashboard, create a Zero Trust account. The free plan is sufficient for this tutorial. During setup, you’ll be asked to create a team. Make sure you remember the team name you’ll need it later when logging in with the WARP Zero Trust client.
Create a private EKS cluster
Okay, so as I mentioned before, we are going to create a really simple cluster. Here is the cluster configuration file that I used for a proof of concept:
apiVersion: eksctl.io/v1alpha5
kind: ClusterConfig

metadata:
  name: vpn-eks-cluster
  region: us-east-1

vpc:
  clusterEndpoints:
    publicAccess: true # temp: on for bootstrap
    privateAccess: true
nodeGroups:
  - name: t2micro-nodes
    instanceType: t2.micro
    desiredCapacity: 1
    minSize: 1
    maxSize: 1
To create run this command:
eksctl create cluster -f private-eks-cluster.yamlThis creates a simple and inexpensive one-node cluster with its own VPC. It’s better not to use the default VPC it’s much cleaner to create a new one rather than risk messing with the default setup.
Now let’s make the cluster private so that it only uses the private subnets of our new VPC and isn’t accessible from outside the VPC.
eksctl utils update-cluster-vpc-config \
 --cluster <YOUR_CLUSTER_NAME> --region <YOUR_CLUSTER_REGION>\
--private-access=true --public-access=false --approve
To make sure the cluster is private you can run :
aws eks describe-cluster --region <YOUR_CLUSTER_REGION> --name <YOUR_CLUSTER_NAME>\
 --query "cluster.resourcesVpcConfig.{Public:endpointPublicAccess,Private:endpointPrivateAccess}"
Set up a public EC2 bastion:
Now we can go to our AWS account and create a public EC2 instance in the same VPC as the EKS cluster. To do this, go to EC2 and click on Launch Instance
Choose Amazon Linux:
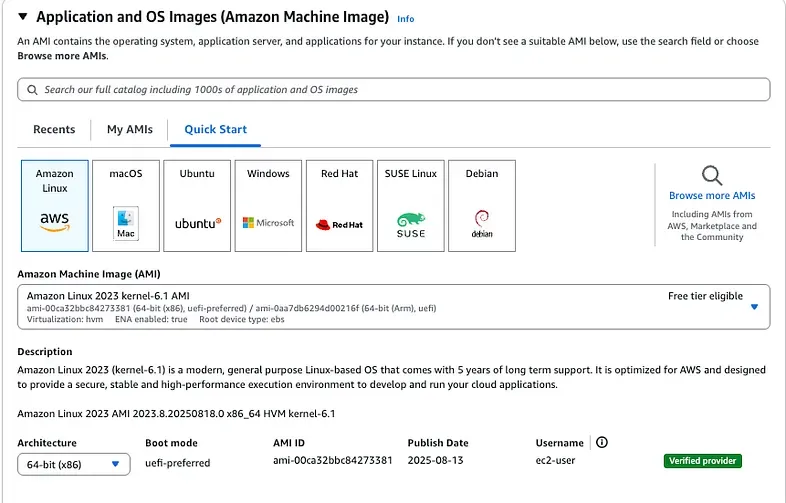
Choose an instance Type

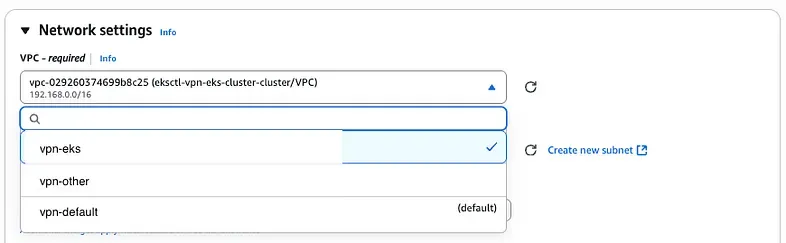
Make sure you select the same VPC as your private cluster.
Okay, let’s run it and connect via SSH to your new instance…
Once you’re connected, the next step is to install the Cloudflare client:
# Download the Linux AMD64 binary
curl -L -o cloudflared https://github.com/cloudflare/cloudflared/releases/latest/download/cloudflared-linux-amd64
# Make it executable
chmod +x cloudflared
# Move it to /usr/local/bin
sudo mv cloudflared /usr/local/bin/
# Verify
cloudflared --version
Okay, now that we have the Cloudflare client installed on your EC2 instance, we should be able to create a tunnel. But first, we need to authenticate with Cloudflare. If you don’t have an account, go to cloudflare.com and create one.
cloudflared tunnel loginOnce you execute this command in the terminal, it will print out a URL. Copy this URL and use it to authenticate with Cloudflare. After authentication, your client will download a certificate that will be used for authentication from now on.
Okay, now that we are authenticated, we should be able to create a tunnel:
cloudflared tunnel create eks-cluster-tunnelThis returns an ID of your tunnel, so it means that the tunnel has been created now we need to config the tunnel to expose the eks api.To do so we need to create a config.yml under /etc/cloudflared/config.yml
# create directory
sudo mkdir -p /etc/cloudflared
# creates config file
sudo nano /etc/cloudflared/config.yml
Write into the config.yml
tunnel: eks-cluster-tunnel
credentials-file: /home/ubuntu/.cloudflared/<tunnel-id>.json

ingress:
  # This maps your Cloudflare hostname to your private EKS API endpoint
  - hostname: eks-api.example.com
    service: https://<private-EKS-API-endpoint>:443
    originRequest:
      # Ensures TLS works even if the endpoint uses a self-signed cert
      noTLSVerify: true
  # Default fallback rule
  - service: http_status:404
To get your private-EKS-API url we can use the aws client to describe the cluster:
aws eks describe-cluster \
    --name <cluster-name> \
    --region <cluster-region>\
    --query "cluster.endpoint" \
    --output text
Now that we have the configuration, we can run the tunnel.
cloudflared tunnel run eks-cluster-tunnelIf everything works, we can create a service and start it to ensure that the tunnel is functioning properly:
sudo cloudflared service install
sudo systemctl enable cloudflared
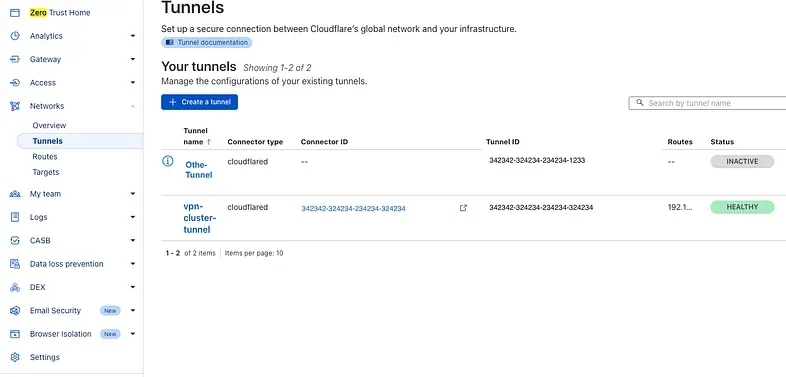
sudo systemctl start cloudflaredOkay, now we can go to our Cloudflare account and verify everything. Log in to the Dashboard, go to Zero Trust, and in the Zero Trust Dashboard open the Network tab and click on Tunnels. You should see your tunnel listed, and its status should show as Healthy.
From the EC2 bastion instance, everything is almost ready. But first, we need to confirm that our instance can reach the EKS endpoint. To do this, we need to edit the security group of the control plane.
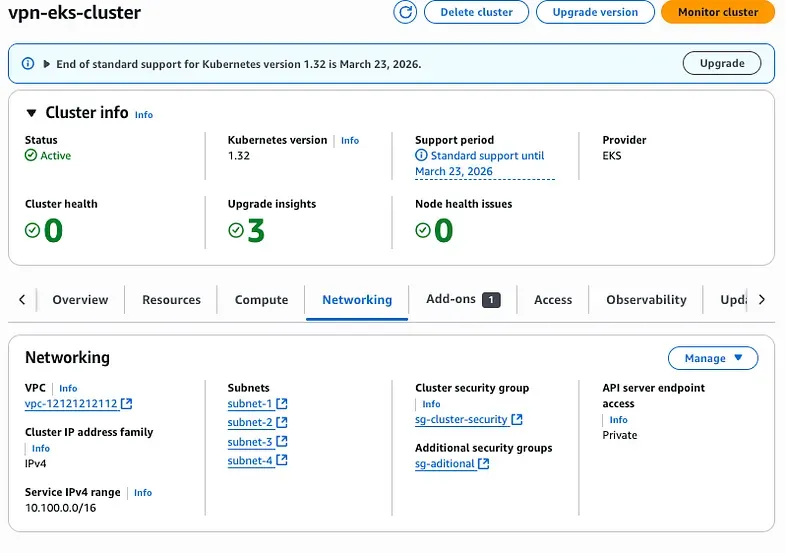
Go to your EKS cluster dashboard, click on Networking, and then select the Cluster security group.
Edit the inbound rules and add a rule for HTTPS (port 443) that allows the bastion’s security group to connect.

Now, connect to the EC2 bastion via SSH and verify that you can reach the EKS endpoint:
curl -4 -vk https://my_eks_endpointYou can run this command to check if you receive a response from the Kubernetes API, the output should look like this.

Configure Cloudflare
In this demo, we haven’t set up a domain in Cloudflare since our domain are manage somewhere else.Since we don’t have a domain set we are going to create a route to the ip that our https://my_eks_endpoint is resolving .
To get the Ip just run
route get <my_eks_endpoint>This should give you a result as:
oute to: 192.168.93.51
destination: 192.168.93.51
The address resolves to 192.168.93.51. To ensure our tunnel can route traffic to this endpoint, we need to include its private network in the tunnel configuration.
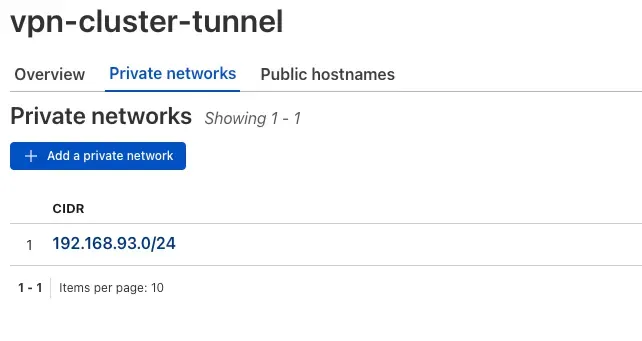
Specifically, we’ll add the CIDR block 192.168.93.0/24, which covers the entire range from 192.168.93.1 to 192.168.93.254. This guarantees that all possible hosts in that subnet, including 192.168.93.51, are reachable through the tunnel.

Now our tunnel will route the resolve address from https://my_eks_endpoint
WARP Installation and Configuration
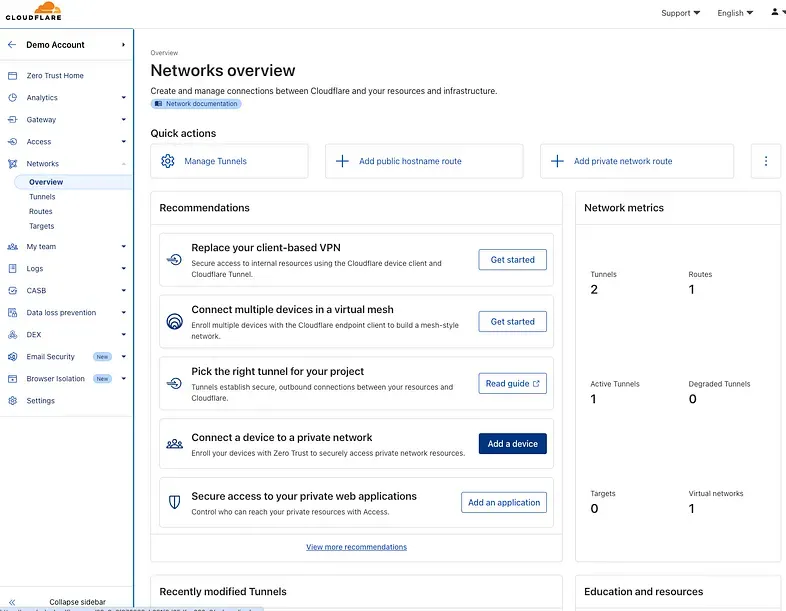
Almost there! The final step in Cloudflare is to connect a device to your private network. To do this, navigate to Zero Trust → Networks → Overview, then click Add a device under Connect a device to a private network.
- Install the WARP on your machine
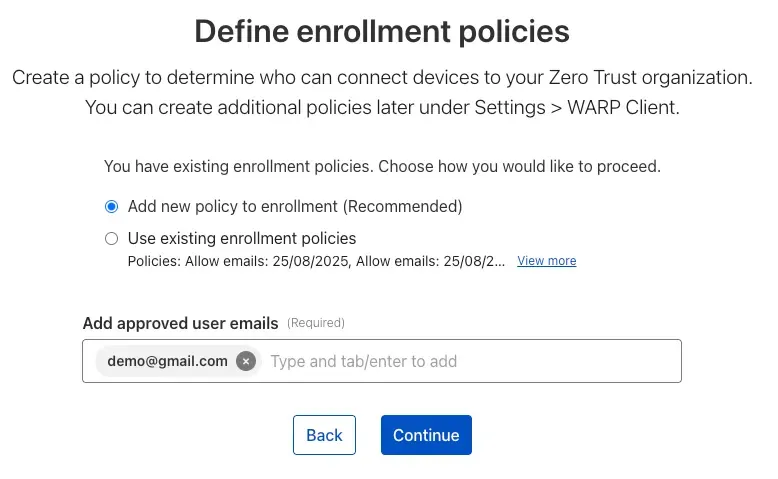
- Define an enrollment policy, add the emails that you want to enroll.
- Select a service mode, we select Both Traffic and DNS (recommended)
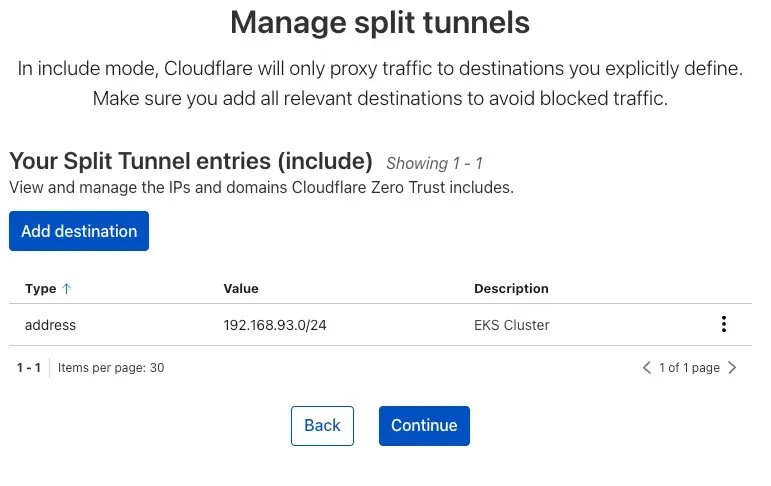
- We set the default routing to Include mode, so only specific address ranges are routed through WARP. We’ll add 192.168.93.0/24 to that list.
We complete and continue.
Now, go to your machine and open WARP. What we want to do now is to authentify on ZeroTrust. On a Mac, the WARP icon will appear in the menu bar at the top of the screen.

Click on the icon and the WRAP windows will appear:
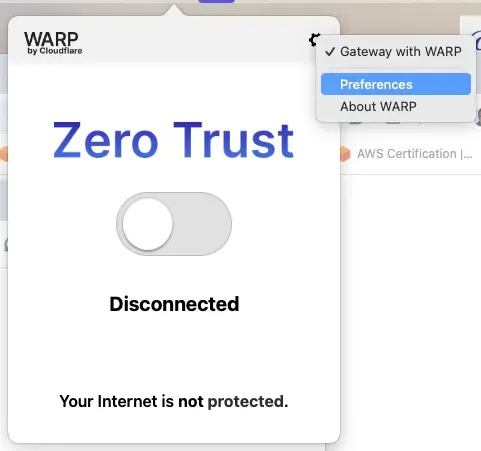
Click on the setting icon and click on Preferences and go to the account tab.
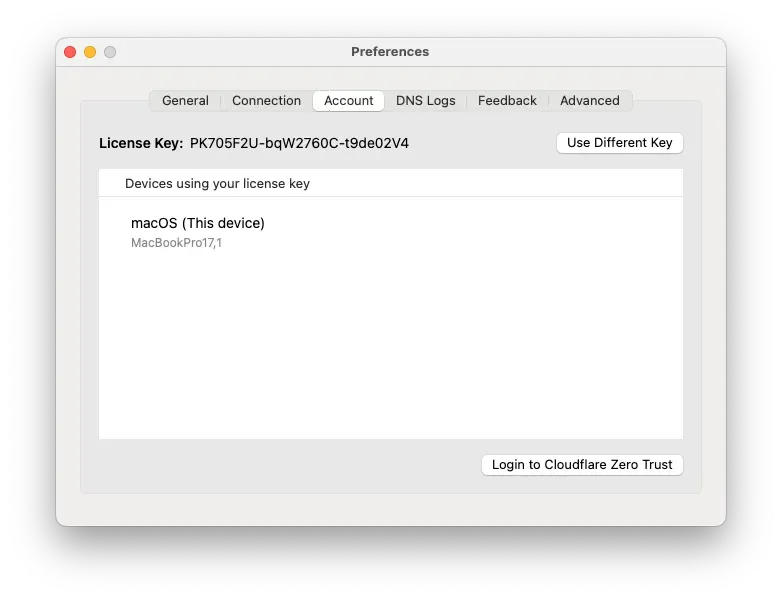
Click on Login to Cloudflare Zero Trust enter your Zero Trust team and follow the instructions. Once you have suceesfully logged in to Zero Trust reopen the WARP client and click Connect.
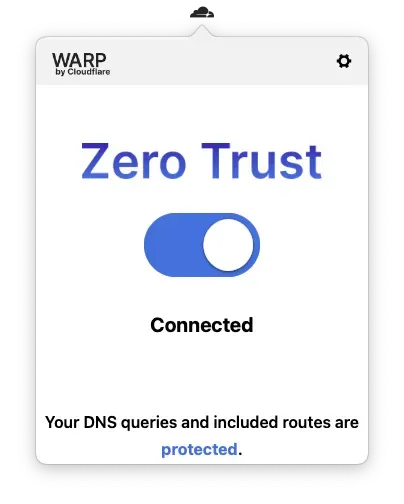
Now you’re connected, and all calls to the private EKS cluster will be routed securely through Cloudflare to your private EKS control plane.